

Preventing Frostbite on Construction Sites: A Crew Guide
Quick Summary
Frostbite on construction sites is a crew problem, and it is preventable with planning. Crews reduce the risk by monitoring wind chill, limiting continuous exposure, keeping feet and hands dry, and watching each other for early warning signs like numbness.
- Treat wind chill, not the thermometer reading, as the number that drives cold-exposure decisions.
- Shorten work-rest cycles as wind chill falls and wetness increases, rather than following a fixed clock schedule.
- Carry spare dry socks and swap them as soon as they get damp, since wet feet lose heat faster.
- Use a buddy system so workers check each other for shivering, confusion, and slowed movement.
- Stop work and get the worker checked if numbness appears, rather than assuming feeling will return.
Table of Contents
- Why Frostbite Is a Jobsite Problem, Not Just a Personal One
- Cold Stress Prevention for Construction Workers Starts With Exposure Limits
- Frostbite Symptoms and Warning Signs to Watch For
- Construction Worker Winter Clothing: Layers, Dry Socks and Protected Extremities
- Glove Choice and the Dexterity Trade-Off on Cold Tasks
- Building a Cold Stress Toolbox Talk for Your Crew
- Your Next Step: Plan Winter Footwear Before the First Cold Shift
- Frequently Asked Questions
Preventing Frostbite on Construction Sites: A Crew Guide
Last Updated: November 6, 2026
Why Frostbite Is a Jobsite Problem, Not Just a Personal One
Frostbite on construction sites is a crew problem, not only a personal one. When one worker loses feeling in their toes, the whole crew slows down, and the risk spreads. E-BOOTS™ builds winter footwear for people who work in cold conditions, so this is a problem that deserves a plan rather than a shrug.
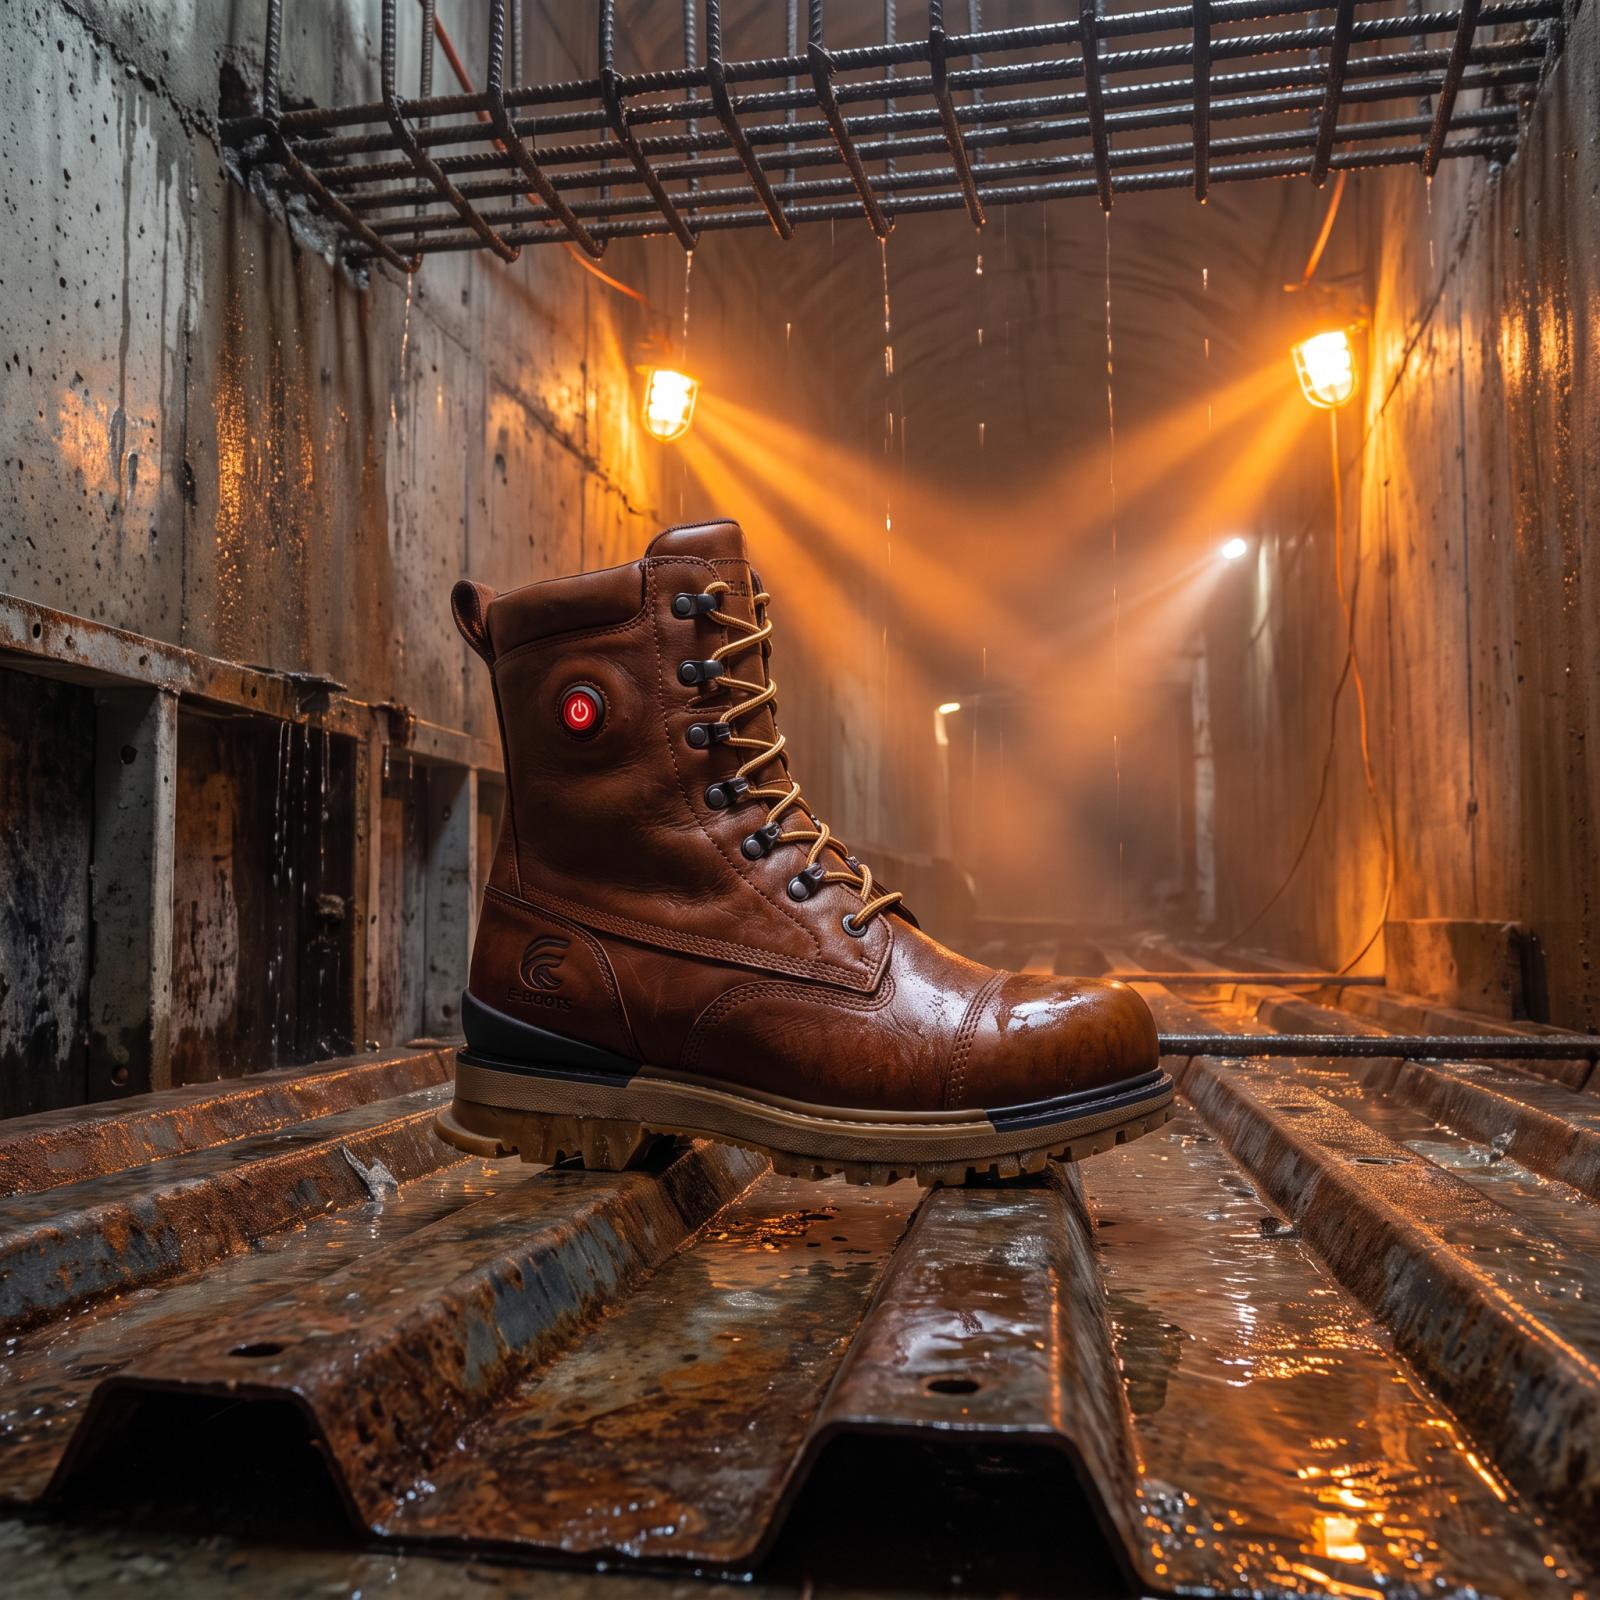
Frostbite is the freezing of skin and the tissue beneath it. It usually starts in the fingers, toes, nose, and ears, where blood flow is lowest. Cold stress is the broader term for what the body goes through when it cannot stay warm, and frostbite is one of its most serious outcomes.
Cold stress rarely affects one person in isolation. For a fuller look at keeping feet warm across a construction shift, see how a crew keeps feet warm through the workday. Workers who are cold make slower decisions, handle tools less carefully, and take more shortcuts to finish a task. A crew that plans for cold works safer and keeps its people on the job.
Cold Stress Prevention for Construction Workers Starts With Exposure Limits
Exposure limits are the backbone of any cold-weather work plan, and they are where most construction sites fall short. The goal is not a single temperature cutoff, because cold risk comes from the combination of air temperature, wind speed, and wetness. Wind can make a moderately cold day feel far colder on exposed skin, and wet clothing or wet skin can accelerate heat loss further. Supervisors should treat wind chill, not the raw thermometer reading, as the number that drives decisions.
A practical exposure plan works in three layers. The first is monitoring: check the forecast and wind chill before each shift, and recheck at midday because conditions on an open site change fast. The second is scheduling: shorten continuous exposure periods as wind chill drops and wetness increases, and rotate workers through tasks that alternate cold exposure with warmer, sheltered work. The third is stopping: set a clear trigger for when outdoor work pauses or moves indoors, and make sure every worker knows that trigger before the shift starts.
Use this sequence to build the plan into the shift:
- Check air temperature, wind speed, and wind chill before the shift and at midday
- Identify which tasks involve wet concrete, wet ground, or handling cold metal, since those raise risk faster than dry work
- Set work-rest cycles that shorten exposure as wind chill falls, and rotate crews rather than keeping one group out for the full shift
- Confirm the heated break area is open, dry, and stocked before workers need it
- Assign a buddy check so workers watch each other for shivering, confusion, and slowed movement
- Review the stop-work trigger aloud so no one has to guess when conditions become unsafe
A common pattern on well-run sites is to schedule the most exposed tasks, such as working at height or handling cold materials, for the warmest part of the day and to keep fine-detail work indoors when wind chill is severe. Breaks taken before workers ask for them are generally a sound way to reduce the risk of cold-related problems.
Watch out: A fixed break schedule that ignores wind chill can leave crews exposed on days that feel mild at the thermometer but are dangerous in the wind. Build the schedule around conditions, not the clock.
Frostbite Symptoms and Warning Signs to Watch For
Frostbite often starts quietly, so early recognition matters. Workers should report these signs right away:
- Numbness or loss of feeling in fingers, toes, nose, or ears
- Tingling, burning, or aching in cold extremities
- Pale, waxy, or grayish-white skin
- Skin that feels hard or unusually firm to the touch
- Blisters forming after rewarming
If someone shows these signs, move them to a warm, dry area and get medical attention. Do not rub the affected skin, because rubbing causes more damage. Do not break blisters. Rewarm the area gradually, and do not use direct high heat such as a fire or heater placed against the skin.
Watch out: Many workers keep working after numbness starts because they assume the feeling will return. Treat numbness as a stop signal and get the worker checked.
Construction Worker Winter Clothing: Layers, Dry Socks and Protected Extremities
Good winter clothing is the easiest way to protect a crew's extremities. Layering works best because workers can add or remove clothing as their activity changes. A typical setup includes a moisture-wicking base layer, an insulating middle layer, and a wind- and water-resistant outer layer. Mastering layering techniques helps workers adjust insulation without trapping moisture, keeping their extremities better protected as conditions and activity levels change.
Dry socks matter as much as warm boots. Wet feet lose heat much faster than dry ones, so workers should carry spare socks and change them when they get damp. Cotton holds moisture, so wool or synthetic socks are usually the better choice.
Hands, feet, nose, and ears need extra attention. Keep head coverings, neck protection, and insulated footwear ready for every shift. Winter work footwear is designed to help protect the feet in cold, wet conditions, and it works best when paired with dry socks and layered clothing. Compare heated work boots built for cold jobsite shifts when choosing footwear for winter.
Glove Choice and the Dexterity Trade-Off on Cold Tasks
Glove choice on a construction site is not one decision, it is a series of task-based decisions. Readers weighing warmth against working comfort can check whether heated work footwear is safe for daily industrial use. The right glove for tying rebar is not the right glove for running a saw, and a supervisor who treats gloves as a single site-wide requirement will either leave workers with cold hands or with hands too clumsy to work safely. The trade-off is real: insulation and waterproofing add warmth but reduce feel and grip, while thin gloves preserve dexterity but lose heat quickly, especially when handling cold metal tools and materials.
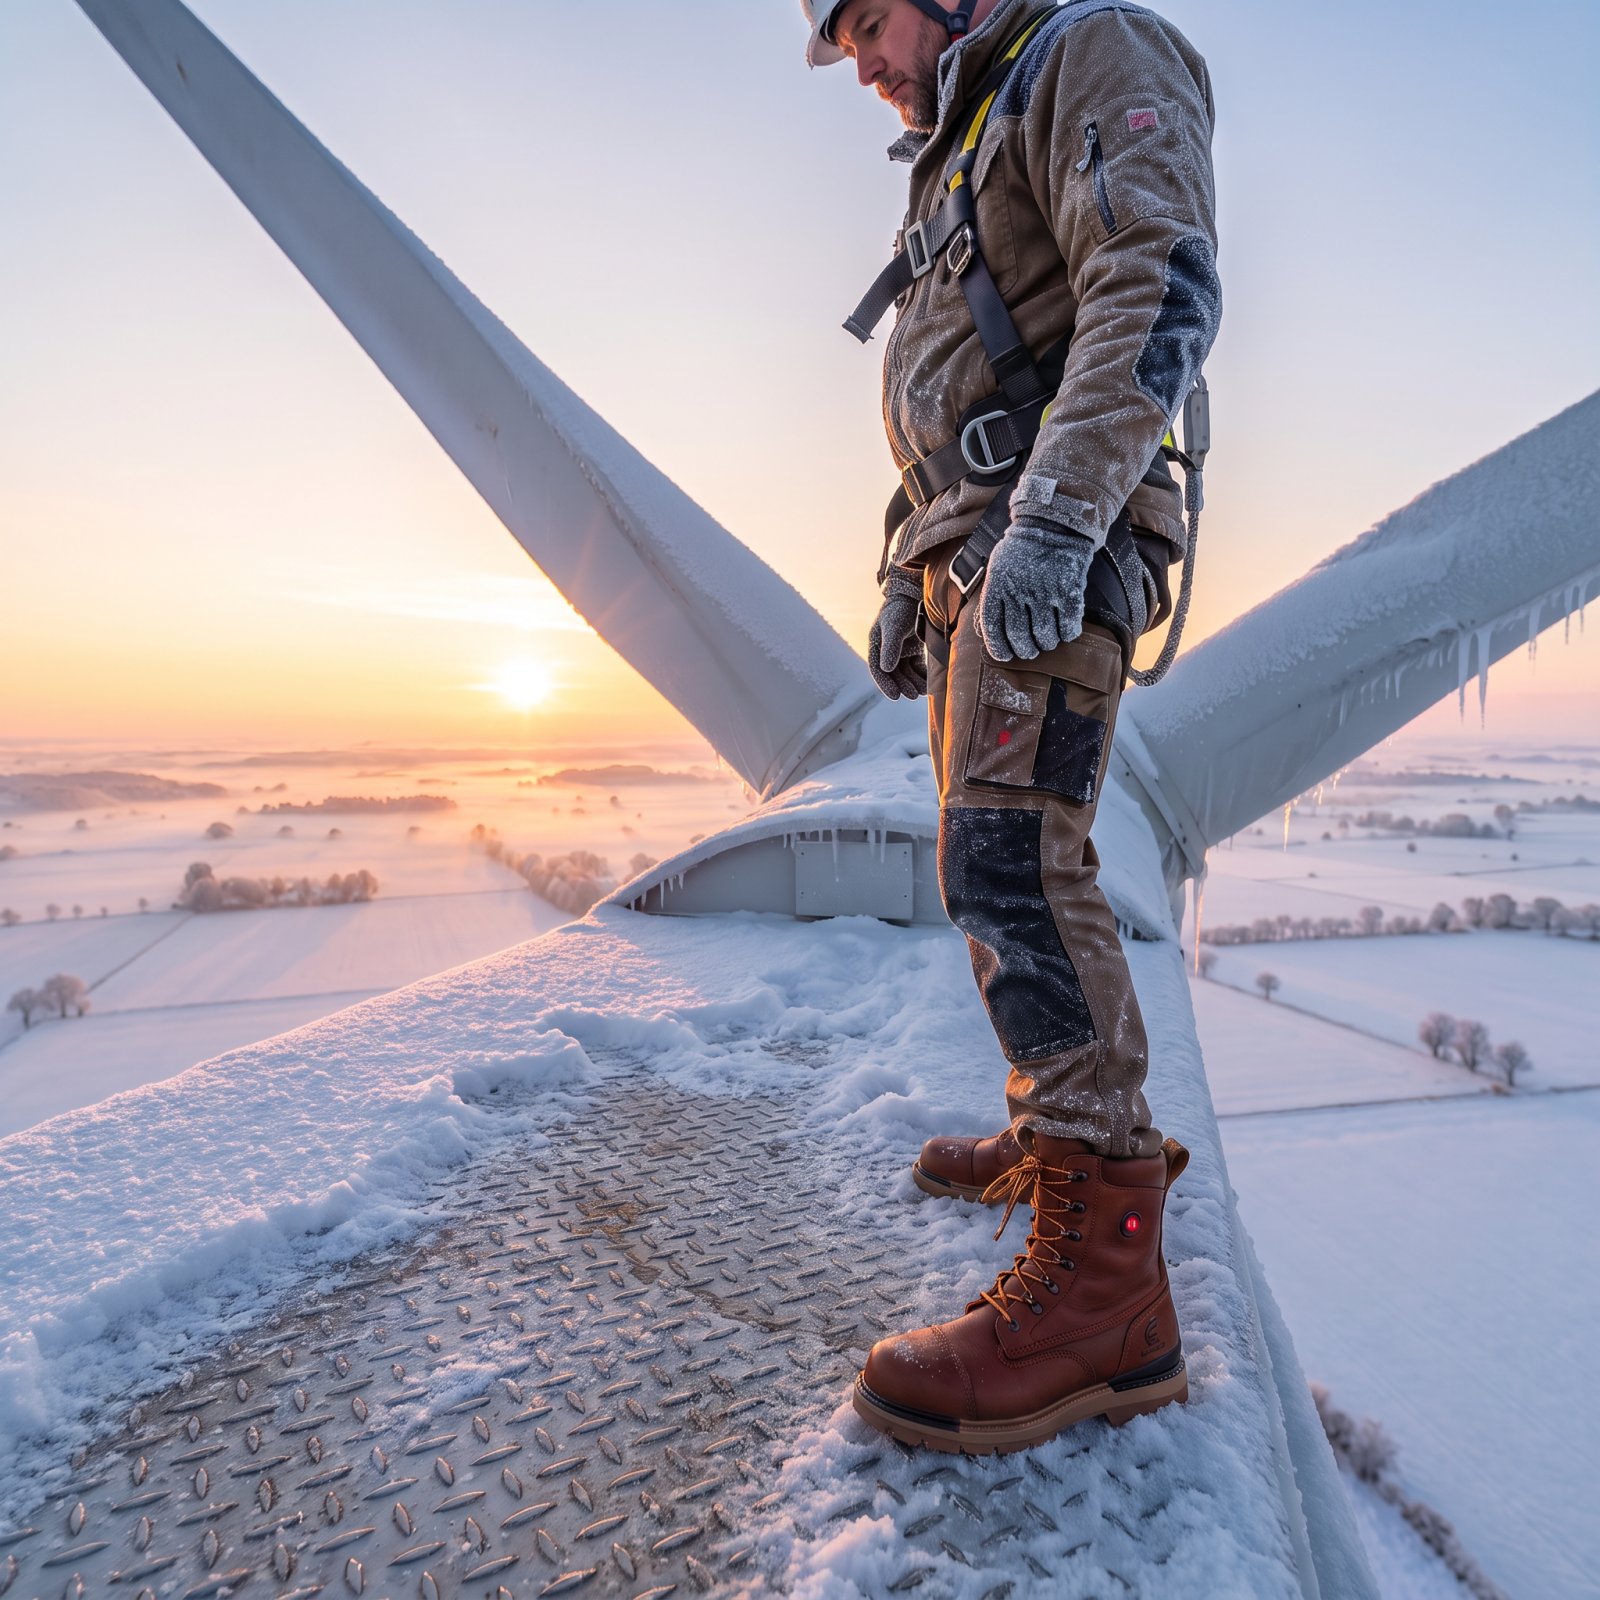
A task-based approach helps. For fine work such as handling small fasteners, tying wire, or working with controls, a thin liner under a heavier outer glove lets a worker shed the outer layer for precision and keep the liner on for basic warmth. For heavier work such as moving lumber or working with cold concrete, a waterproof outer glove with insulation protects against wetness, which drains heat faster than cold air alone. For tasks that combine wet conditions and fine dexterity, a waterproof liner paired with a flexible outer glove is often the better compromise than a single thick pair.
Supervisors should build glove management into the shift:
- Match glove type to the task, and let workers switch as tasks change rather than wearing one pair all day
- Keep spare liners and dry outer gloves on site so damp pairs can be swapped immediately
- Check gloves for tears and wetness at the start of each shift, since a wet glove loses insulating value fast
- Remind workers that mittens offer more warmth for the same bulk but are harder to use with tools, so they suit transport and staging tasks more than precision work
- Watch for workers removing gloves entirely to regain dexterity, because bare hands on cold metal are a direct frostbite risk
A common pattern is to issue each worker a liner, a flexible outer glove, and a heavier waterproof pair, then let the task decide which combination is worn. That gives crews a way to protect hands without forcing a single compromise across every job.
Watch out: A worker who pulls off gloves to handle small parts may not notice numbness until dexterity is already gone. Build glove changes into the task plan so bare hands are never the default.
Glove needs change with the job, so match the glove to the task rather than wearing one pair all day.
| Task type | Suggested glove approach | Key trade-off |
|---|---|---|
| Fine work (fasteners, wire, controls) | Thin liner under a heavier outer glove | Liner keeps basic warmth while preserving feel |
| Heavy work (lumber, cold concrete) | Waterproof insulated outer glove | Adds warmth and wet protection but reduces grip |
| Wet and fine work combined | Waterproof liner with flexible outer glove | Better compromise than a single thick pair |
| Transport and staging | Mittens | More warmth for the same bulk, harder with tools |
Building a Cold Stress Toolbox Talk for Your Crew
A toolbox talk is a short safety meeting held before work starts. A cold stress talk should take about ten minutes and cover the basics that every worker needs to know.
Use this outline for your crew:
- Review today's forecast, wind, and expected exposure time
- Name the warning signs of frostbite and cold stress
- Show where the warm-up area and first aid supplies are located
- Assign a buddy system so workers check each other's hands, feet, and face
- Explain the reporting steps when someone feels numb or unwell
- Confirm everyone has dry socks, liners, and proper layers
Repeat this talk on colder days and after any major weather change. To understand what certification means for winter work boots to cover in the talk, see winter boots with safety certification. Talking about cold stress regularly keeps the warning signs fresh for the whole crew.
Your Next Step: Plan Winter Footwear Before the First Cold Shift
Planning ahead makes winter safer for everyone on the crew. Before choosing, read a buyer's guide to industrial-grade heated work boots. Start by reviewing your current footwear, checking for worn soles, and confirming that every worker has dry socks and proper layers. Then build your cold stress plan around the conditions you expect on site.
If you are planning winter footwear for your crew, join the E-BOOTS™ early-access waitlist at e-boots.com to be among the first to hear when our work and outdoor boots become available.
Frequently Asked Questions
How cold is too cold for construction workers?
There is no single temperature that applies to every site. Cold stress depends on air temperature, wind speed, wetness, and how hard the work is. Wind chill matters because wind strips heat from exposed skin faster than still air does. Crews should plan around the combined conditions on the day, not the forecast number alone, and supervisors should review exposure with workers at the start of each cold shift.
What are the early warning signs of frostbite?
Early frostbite often starts with numbness, tingling, or a stinging feeling in fingers, toes, nose, or ears. Skin may look pale, waxy, or grayish-yellow and feel unusually firm or hard. Workers should report these signs immediately rather than waiting for the shift to end. Do not rub the affected skin, and move the person to a warm, dry area while getting medical advice.
What should a cold stress toolbox talk cover?
A useful toolbox talk covers how cold stress develops, the signs of frostbite and hypothermia, the layering and dry-clothing expectations on the crew, scheduled warm-up breaks, and who to tell when something feels wrong. It should also explain the reporting process and how workers can ask for a break without penalty. Keep it short, specific to the site, and repeat it at the start of each new cold period.
What should a worker do if frostbite is suspected?
Move the worker to a warm, dry area and remove wet clothing. Do not rub the affected area or break any blisters. The worker should be assessed by medical personnel as soon as possible. Crews should have first aid training and a clear plan for getting help to the site before the cold shift begins.


